Home and Learn - Free Excel VBA Course
1.7 The Excel VBA Offset Property
Another useful way to refer to a cell or group of cells is with the Offset property. This is used with the Range property so that you can specify a new location. But the new location is based on cells that you specify. As an example, examine this code:
Range("A1").Offset(RowOffSet:=1, ColumnOffset:=1).Select
The above code will select cell B2. The location we've used is cell A1. We've then typed a dot followed by the word Offset. In between round brackets, you tell Excel the new location. This is done with the parameters RowOffSet and ColumnOffSet. (The two are separated by a comma.) In other words, move one row from cell A1 and one column from cell A1.
You can use a shorthand instead of RowOffSet and ColumnOffSet. The shorthand just uses the numbers:
Range("A1").Offset(1, 1).Select
You can also just specify the Rows and not the columns:
Range("A1").Offset(1).Select
Here, we've missed off the column parameter and its comma. Excel takes this to mean you want to move one row down from the cell you specified with Range. The cell selected will now be A2. (We've gone down a row but stayed in the same column.)
Similarly, you can specify the columns but not the rows:
Range("A1").Offset(, 1 ).Select
Now, the row position is blank and the column position is filled in. Notice that we have left in the comma, though. Excel takes this to mean that you don't want a new position for the rows, just the columns. The cell selected will now be B1. (We've gone across one column but stayed in the same row.)
You can also specify negative numbers:
Range("B2").Offset(-1, -1 ).Select
This time, we're starting in cell B2. In between the round brackets of Offset we have -1, -1. A negative number means go up one row or column from the starting position. Going up one row and one column from cell B2 takes you to cell A1.
You can also specify more than one cell for the Range:
Range("A1:C3").Offset(1, 1).Select
Here, we've started with the range of cells A1 to C3. We want to offset this entire range by one row and one column. The new range of cells in the line of code above will be B2 to D4. When specifying a range of cells with offset, not only does the first cell (A1 above) get moved across and down 1 but the last cell (C3) gets moved across 1 and down 1.
If all this is confusing, let's clear it up with a few practical examples.
Return to your coding window from the previous lesson. Create another Sub and give it the name Range_Offset. Add the following code:
Range("A1").Offset(RowOffSet:=1, ColumnOffset:=1).Select
Your coding window will then look like this (we've added some comments):

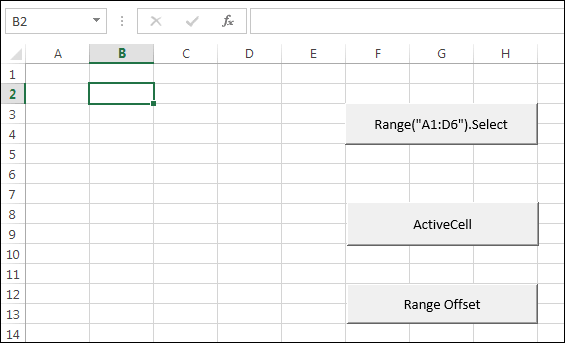
Return to Excel and draw out another button on your spreadsheet. When the Assign Macro dialogue box appears, select your new Sub, Range_Offset. Change the text on the button, as well. To test it out, select the cell A1 on your spreadsheet. Then click your button. You should find that Excel now selects cell B2:

Return to your coding window. Now change the code for your new Sub to this:
Range("A1").Offset(2, 2).Select
Test out the new code by returning to Excel and clicking your button. Which cell does Excel select now?
Try out the other Offset positions we've mentioned in this lesson. Amend your code and try each of these in turn:
Range("A1").Offset(3).Select
Range("A1").Offset(, 2 ).Select
Range("B2").Offset(-1, -1 ).Select
Range("A1:C3").Offset(1, 1).Select
Now try these two exercises.
Exercise
Suppose you've used Range to reference the cell A2. How would you get to
cell C5 using Offset?
Exercise
If you've used Range to reference the cell E8, how would to get to cell
B3 using Range and Offest?
OK, we'll move on. Before doing so, make sure you understand how Offset works. We'll take a look at the Resize property in the next lesson below.
Next Lesson: 1.8 The Resize Property >